Sentinel First Flight
WARNING: Unmanned Aerial Systems (drones) are sophisticated, and can be dangerous. Please use caution when using this or any other drone. Do not fly in close proximity to people and wear proper eye protection. Obey local laws and regulations.
Preflight Checks
Disconnect the power supply now and move Sentinel to a safe location where you wish to fly and connect a battery for flight while the Sentinel is on the ground.
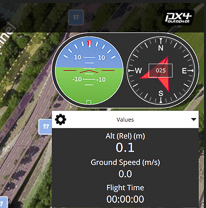
Wait for the connection with QGroundControl to be established.
Attitude Check
Lift the vehicle and move it around, verify that the attitude reported in QGroundControl GUI looks and responds correctly. Try not to cover the tracking camera during this process.
Arming Vehicle Without Props
With the propellers off arm the vehicle.
- Set killswitch to off (“Aux2 Gov” switch down)
- Left stick hold down and to the right
Validate the motor rotation is as expected and the vehicle responds to throttling up momentarily.
Disarm the vehicle:
- Left stick hold down and to the left
Correct rotation direction of motors:

Install Propellers
If your motors are blue, follow the first two steps under v1.0. If you motors are black, skip down to v1.1.
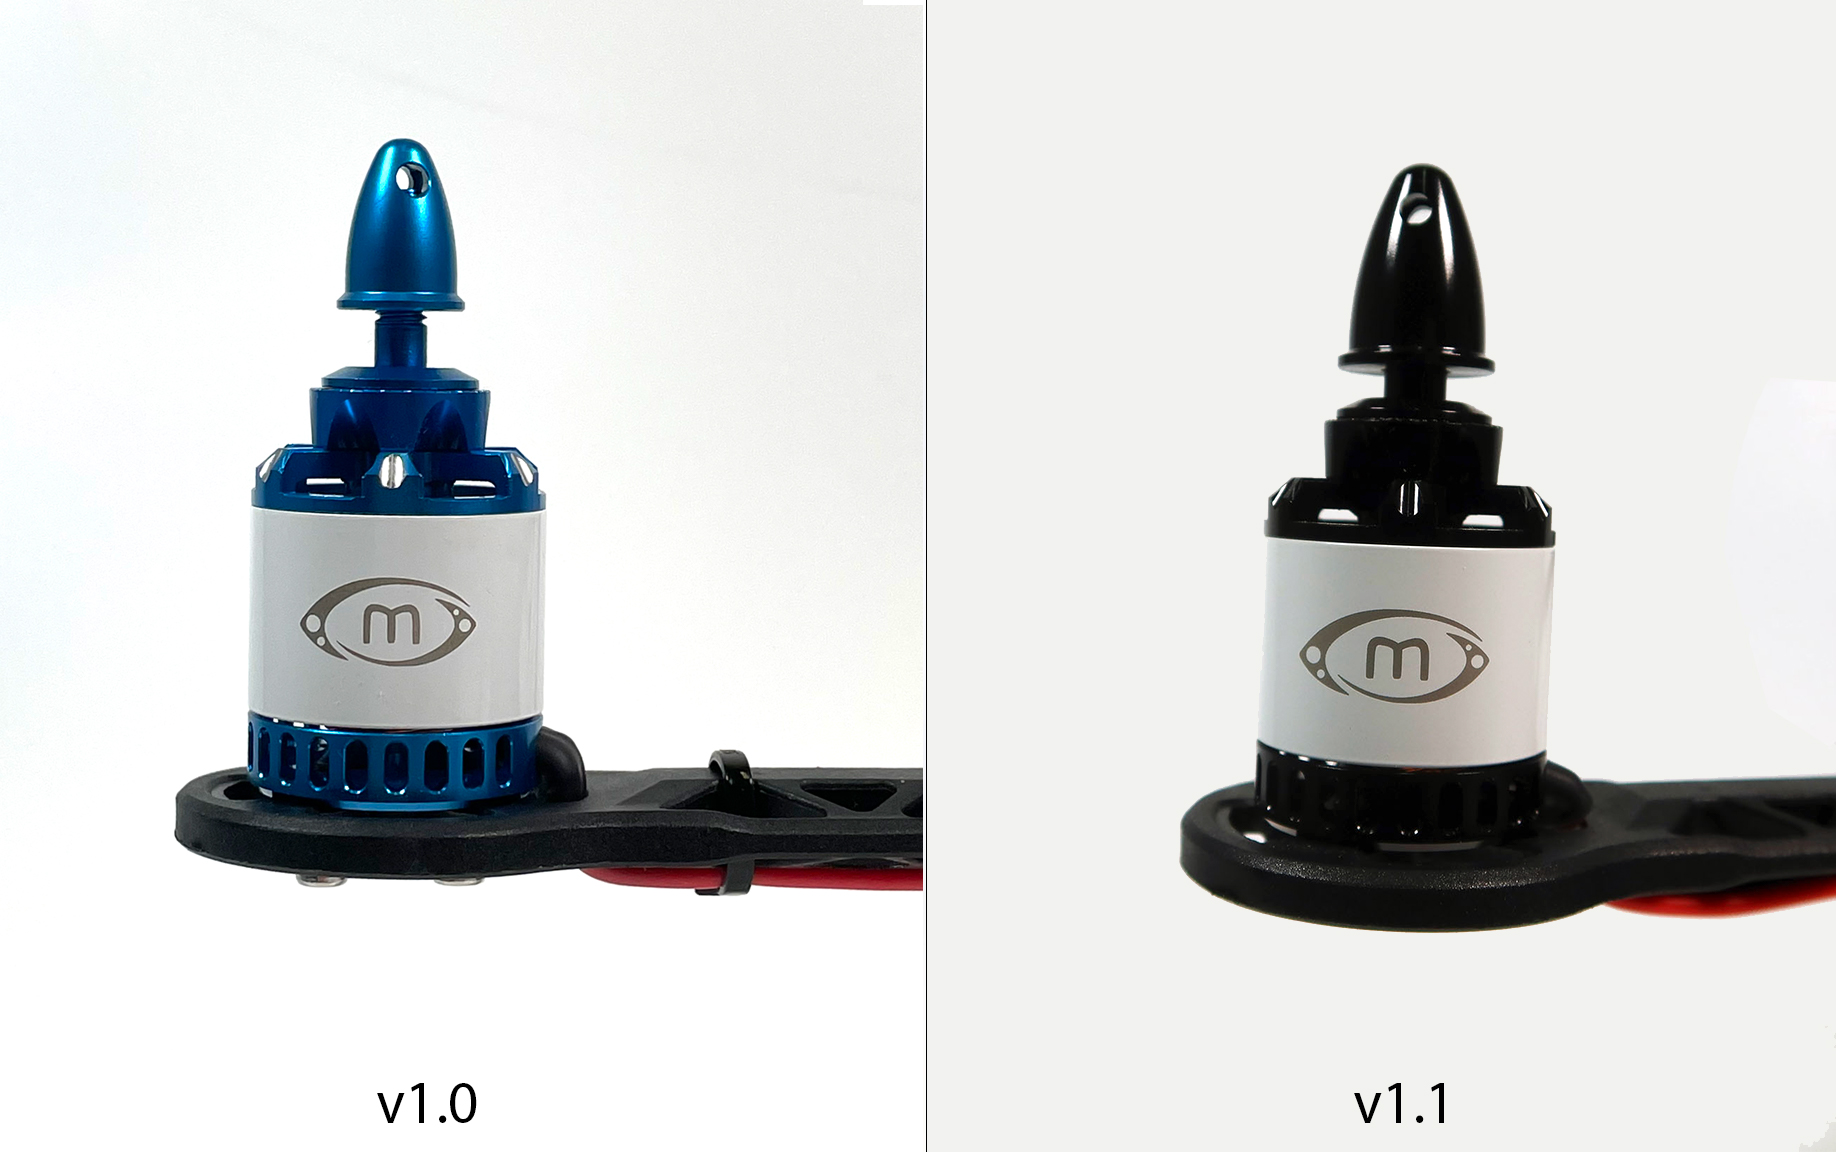
v1.0
If your Sentinel has blue motors, follow the directions below to install spacer adapters.
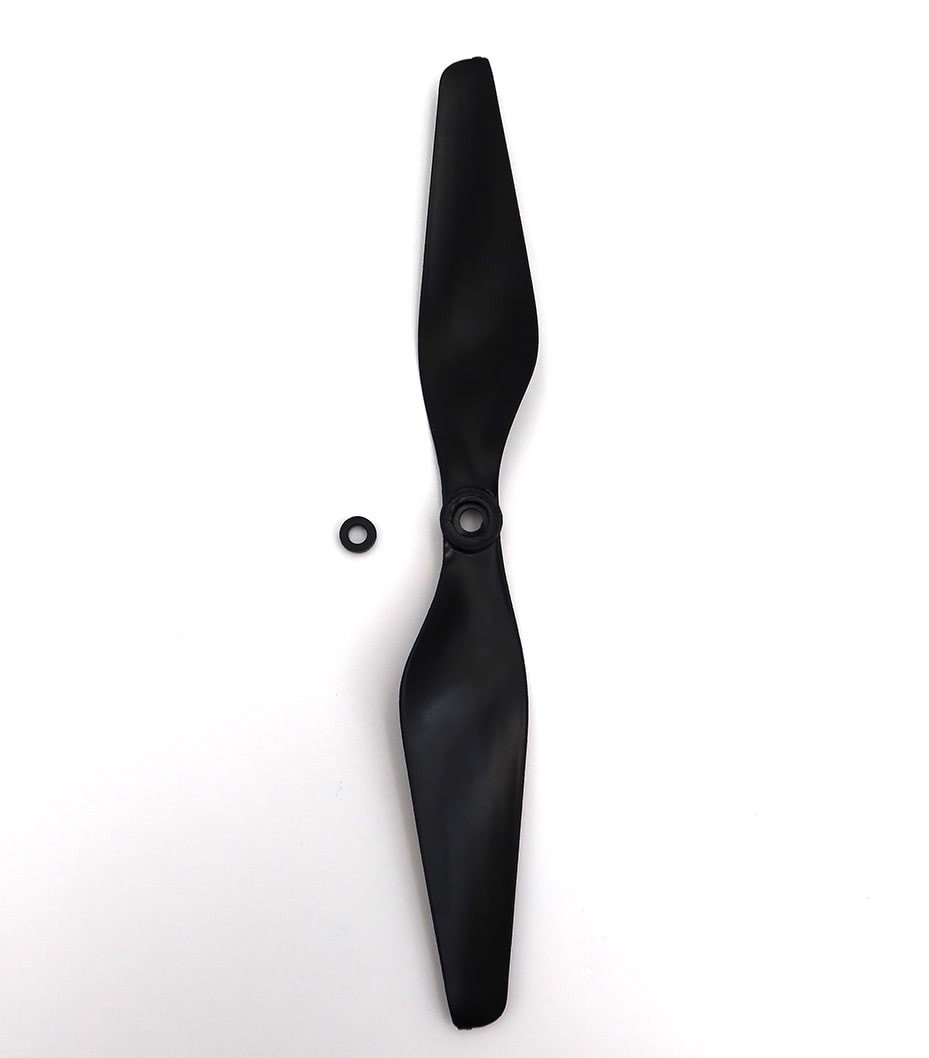
- This version requires 1mm spacer adapters to be added to the propellors.
- Grab the spacer and pop it into the propellors as shown.
Make sure the adapters have not fallen off your propellors, and check the motors for adapters that may have fallen from previous flights
v1.1
If your Sentinel has black motors, start here.
- Unscrew the bell caps and remove the washers.
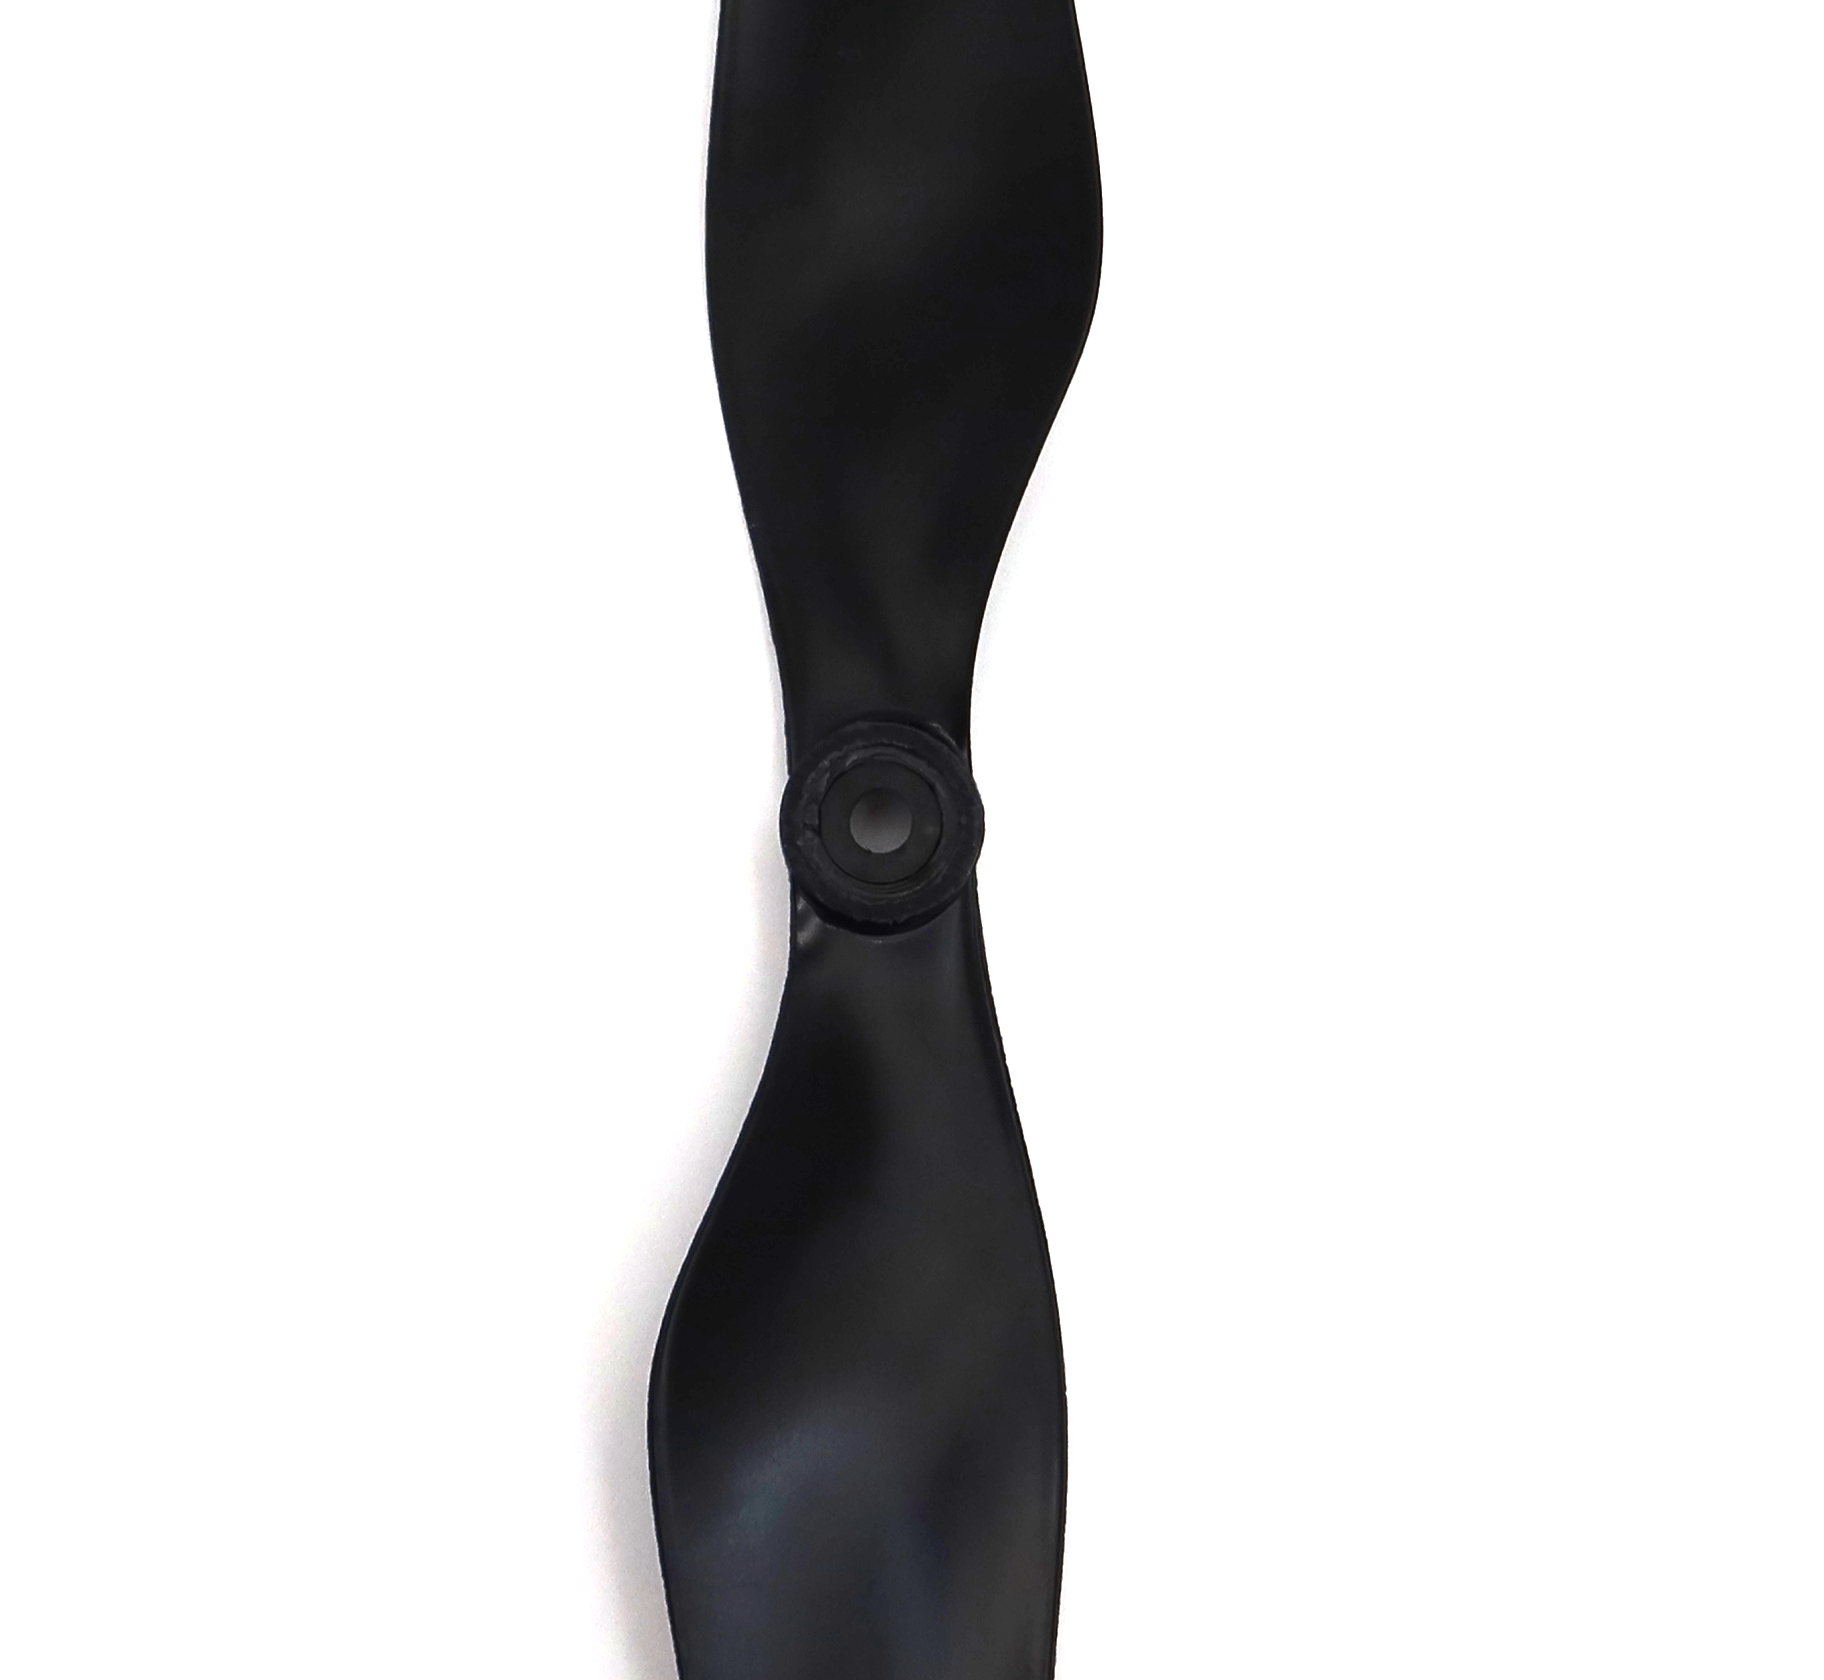
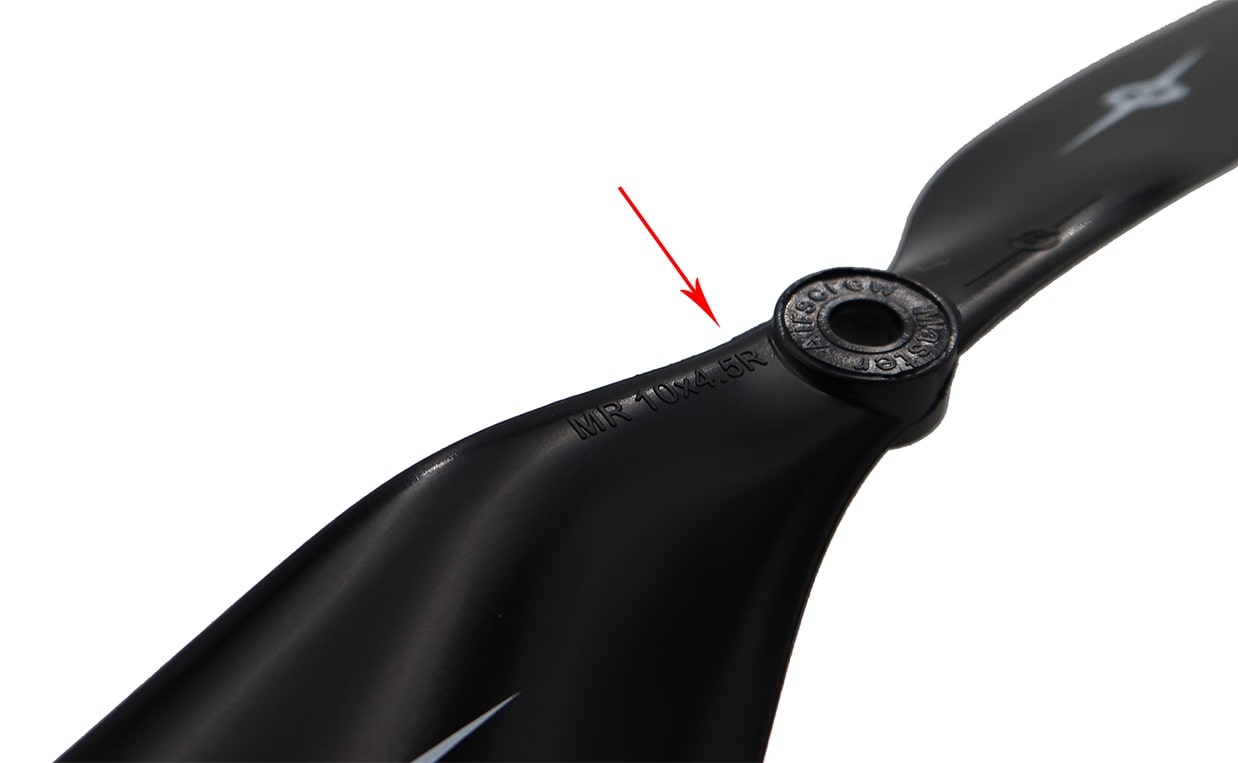
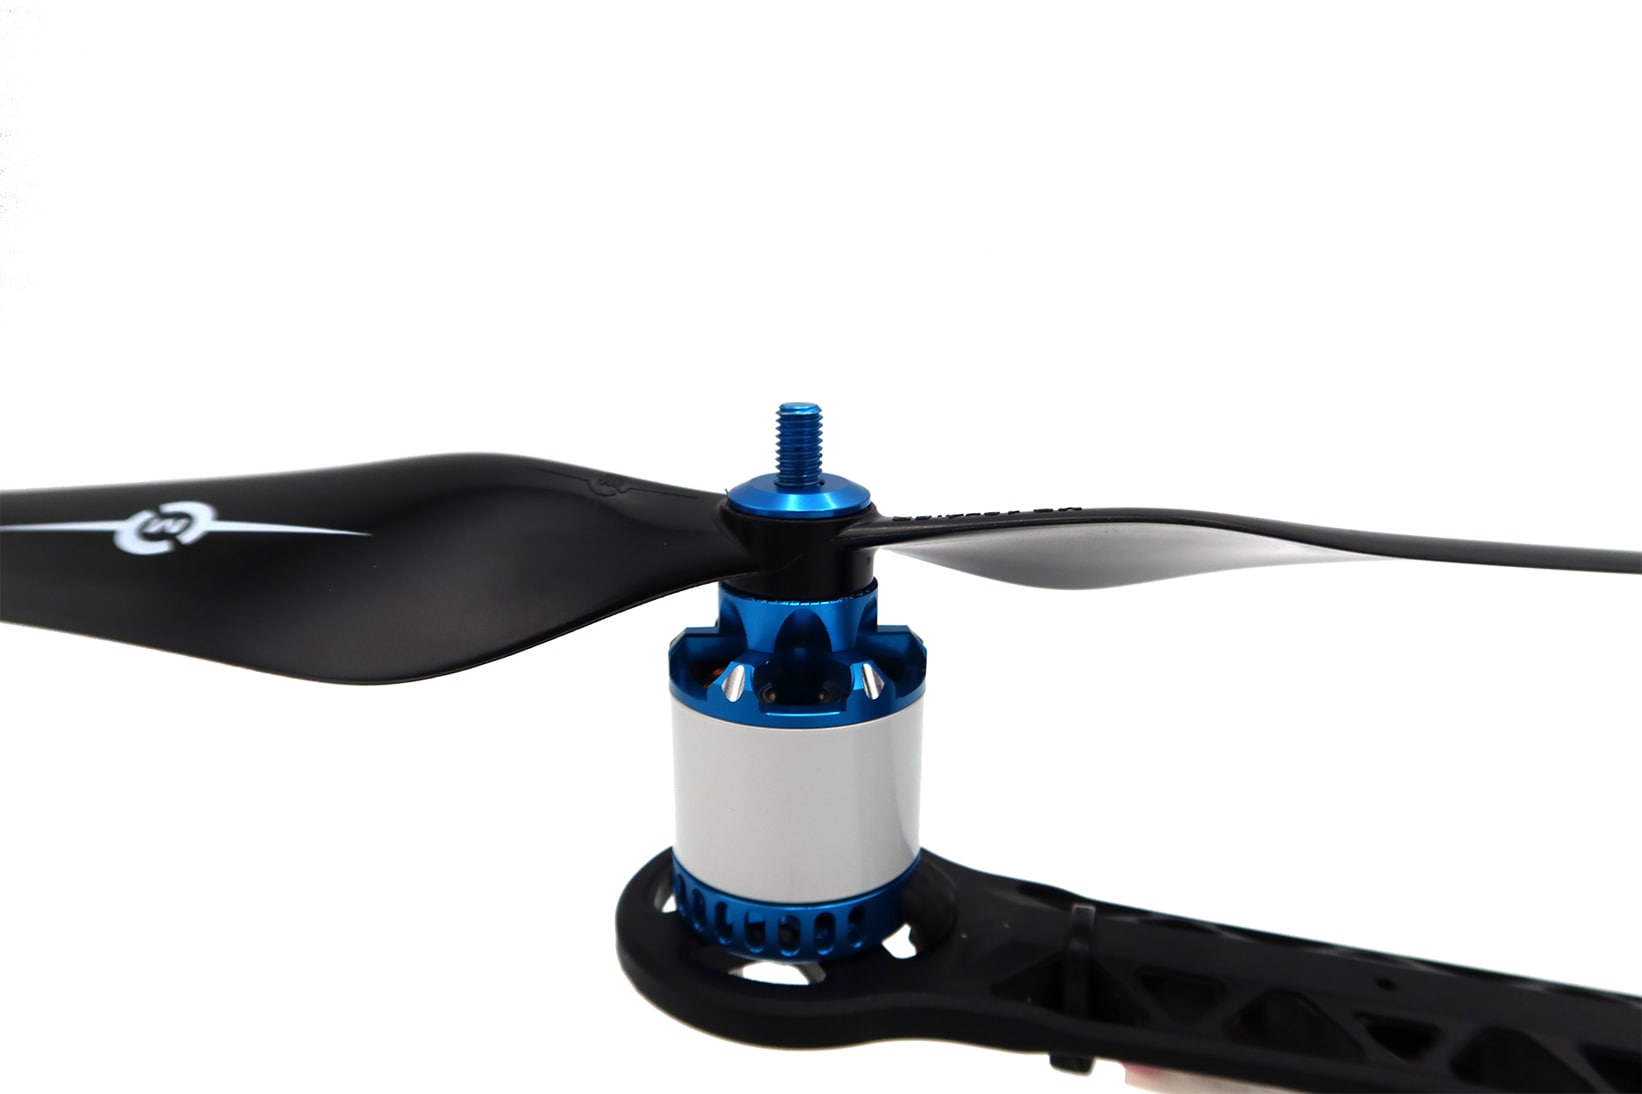
Two of the propellors labeled ‘R’ are designed to turn clockwise and correspond to motors 3 and 4 in the diagram above. Check your props, and slide them onto the motors according to the diagram.
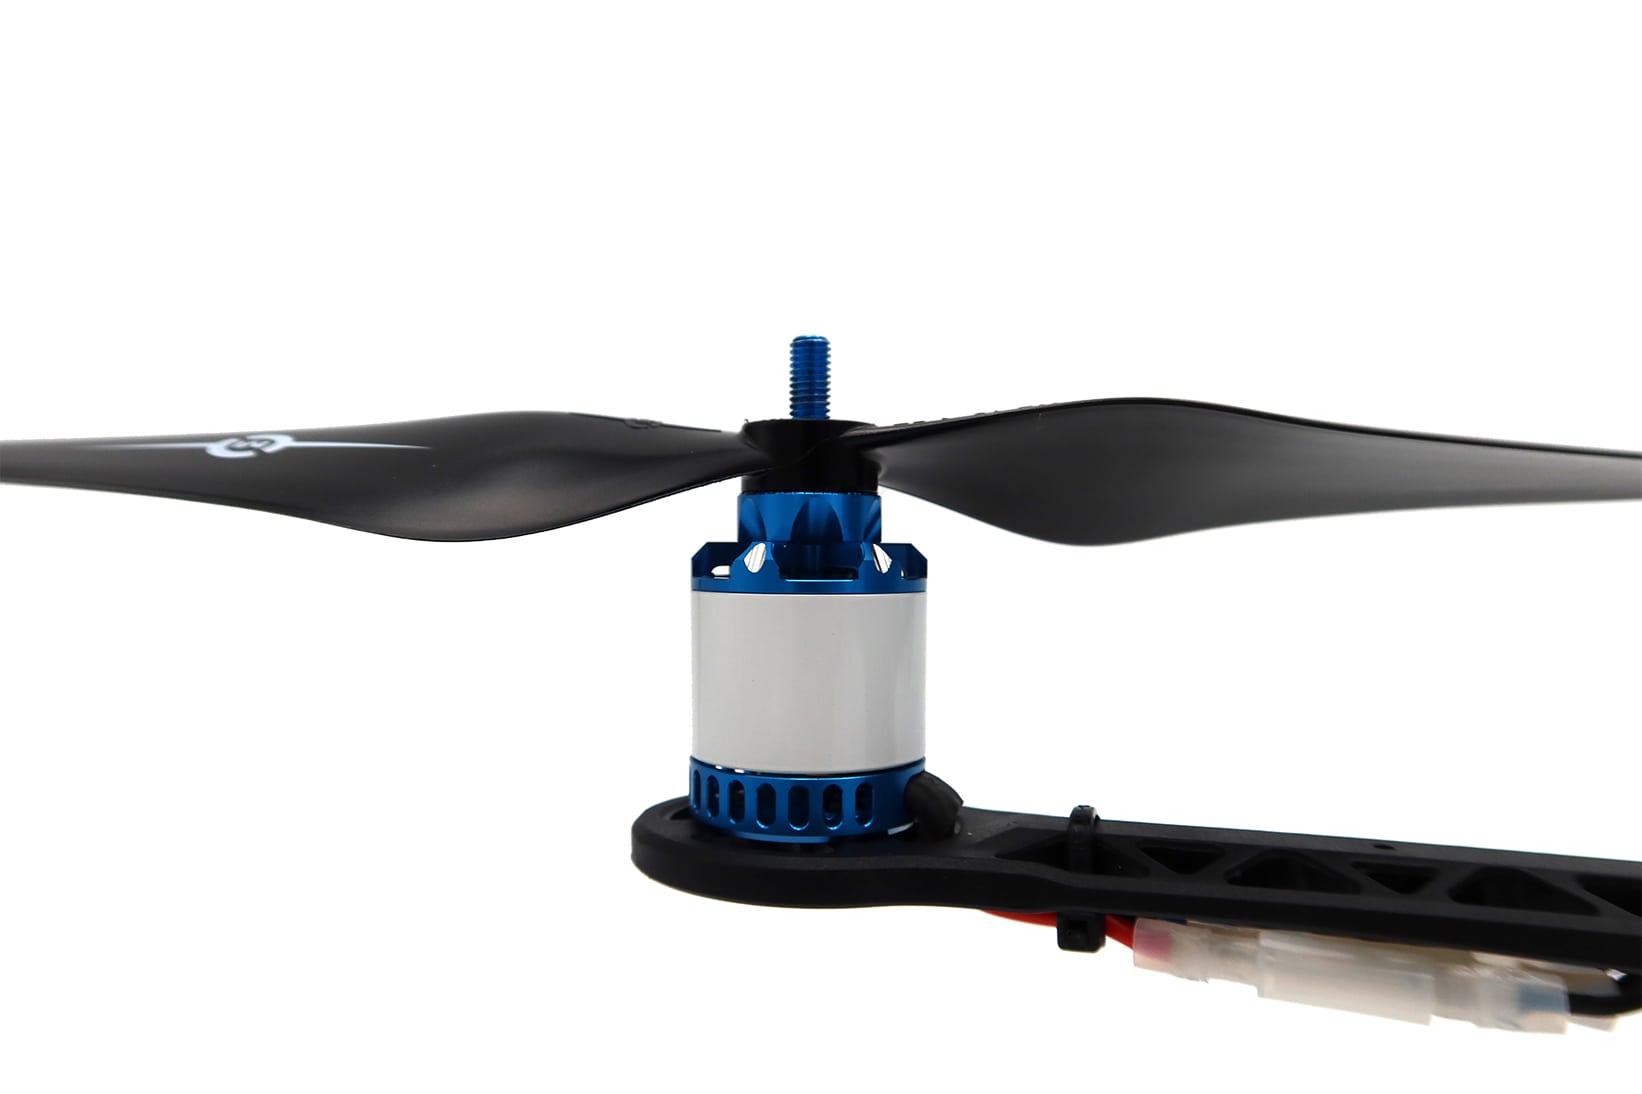
- Slide the washers back on as shown, then screw the bell caps on.

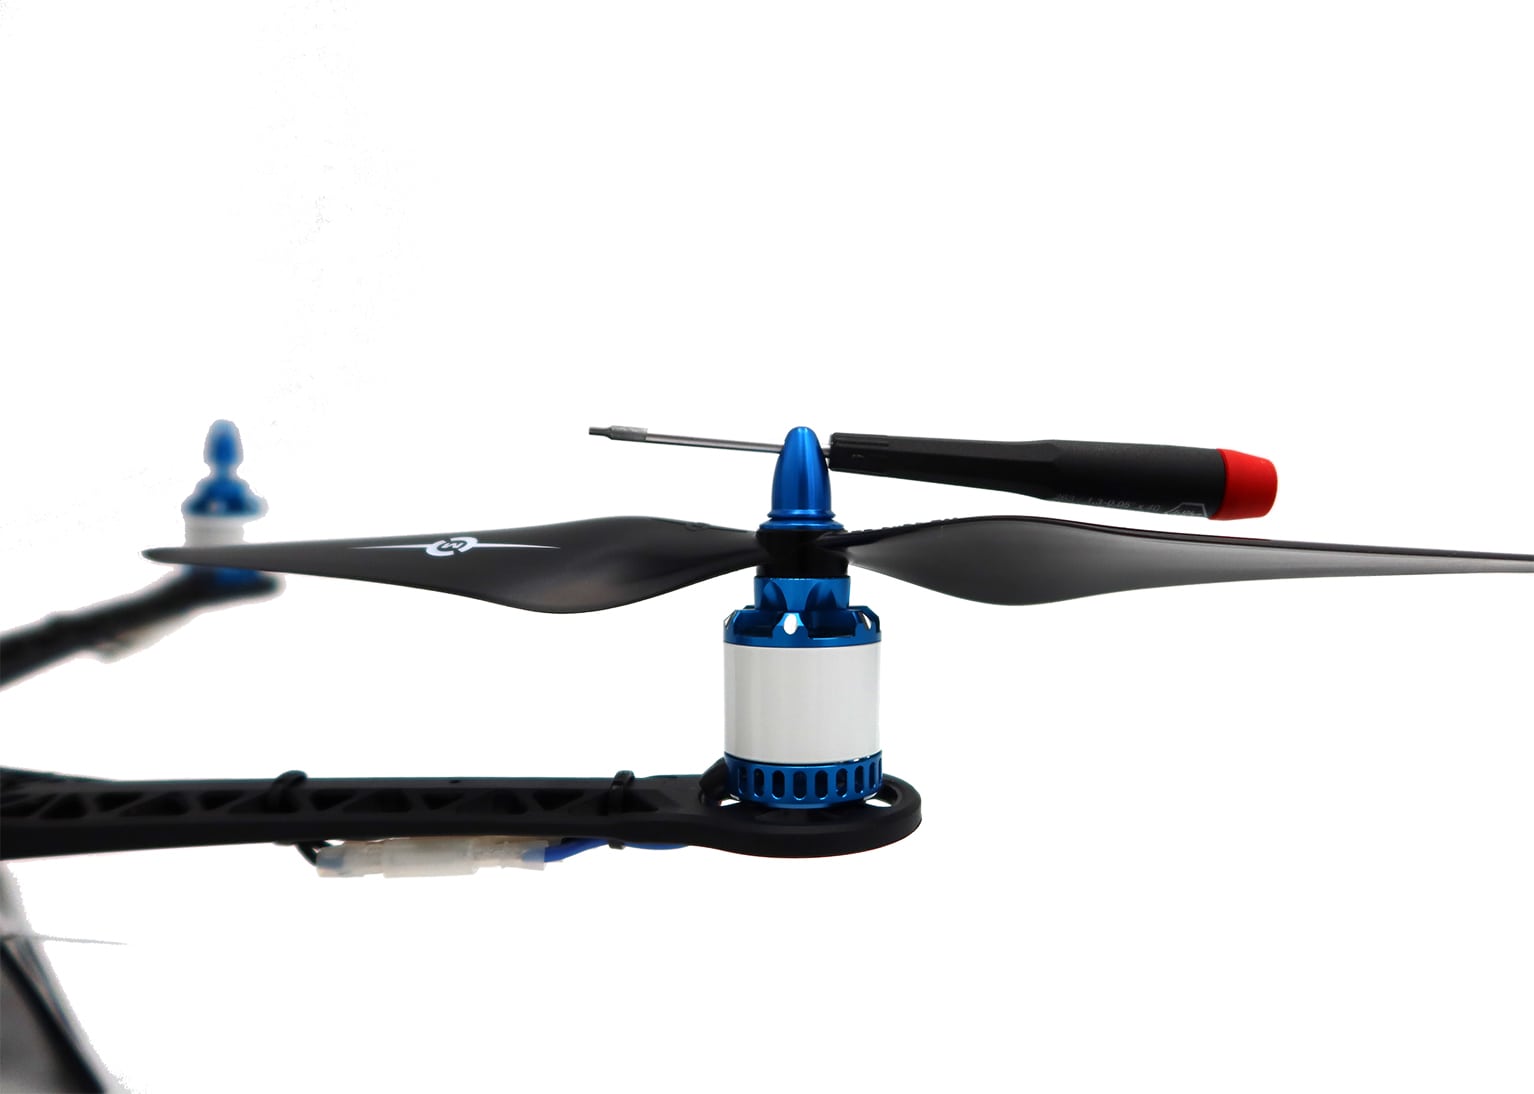
- Tighten by sliding a tool through the holes. Make sure to hold the motors, and not the props while tightening.
Safety Check
Before flying, make sure to conduct a thorough safety check:
- Make sure all connectors and cabling is secure and not loose
- Make sure none of the wires are cut, frayed, or damaged
- If you have any connectivity add-ons, make sure the antennas are secure and are not loose
- Make sure the SD and SIM cards have not popped out
- Make sure the reciever is properly plugged in
- Make sure the cameras are free of any grease, dust, or debris
- Make sure the battery you are using is fully charged
- Make sure the props are on correctly and that they are securly attached
First Flight (Position Mode)
You should be comfortable flying before proceeding!
We recommend your first flight be in position hold (vio) mode outside with a GPS lock. For more information on flying in position mode, click the green button below for a vio overview.
Once confortable with position mode, now safely fly in manual mode! No instructions here, this is an advanced mode and you should know what you are doing if you’re flying!