Sentinel Landing Skid Removal/Installation
Landing Skid Removal
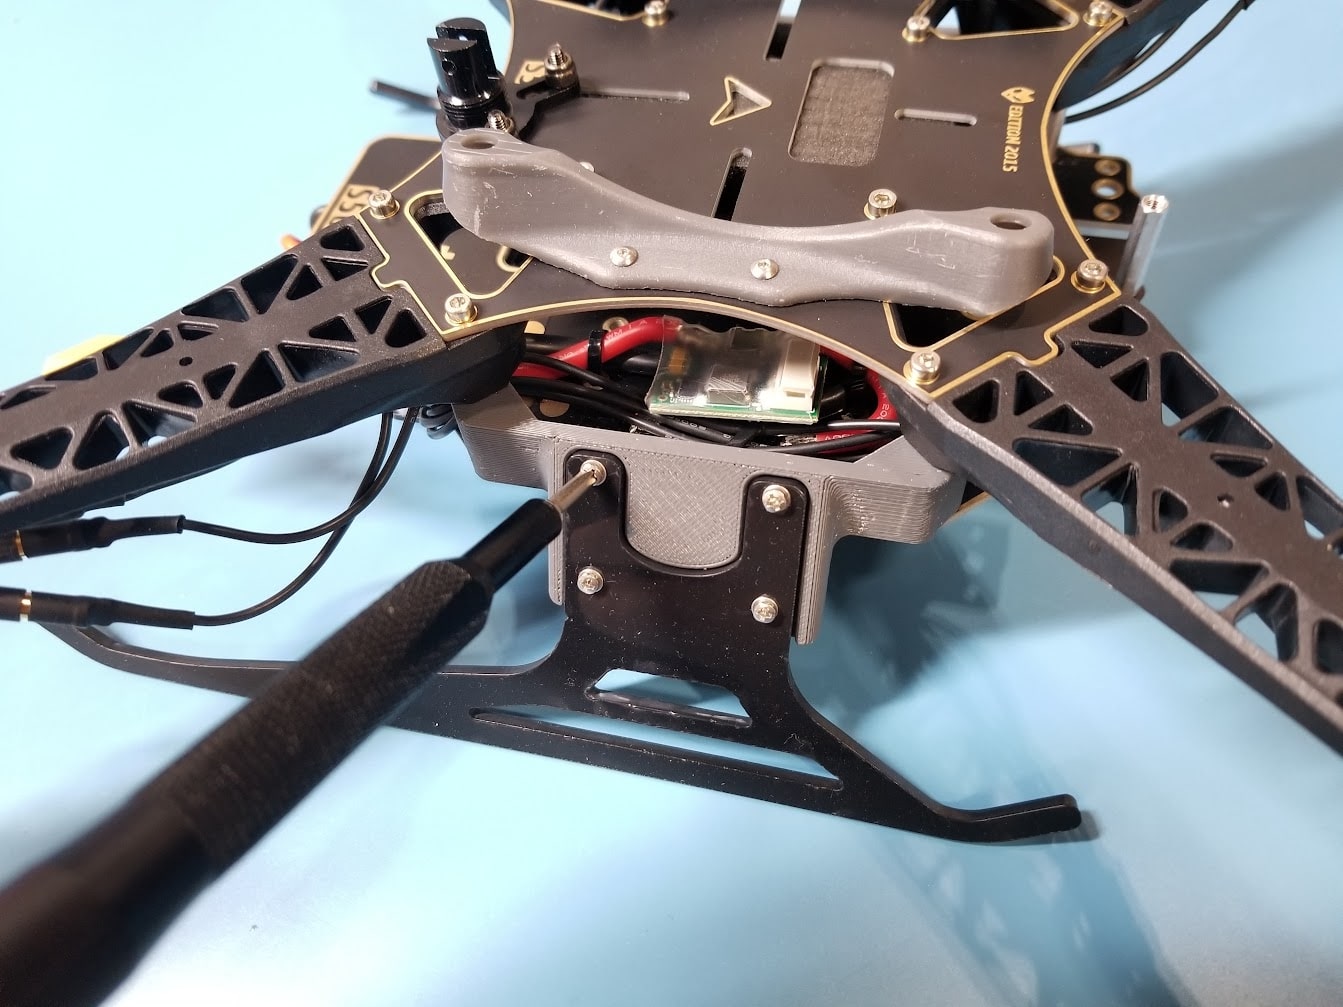
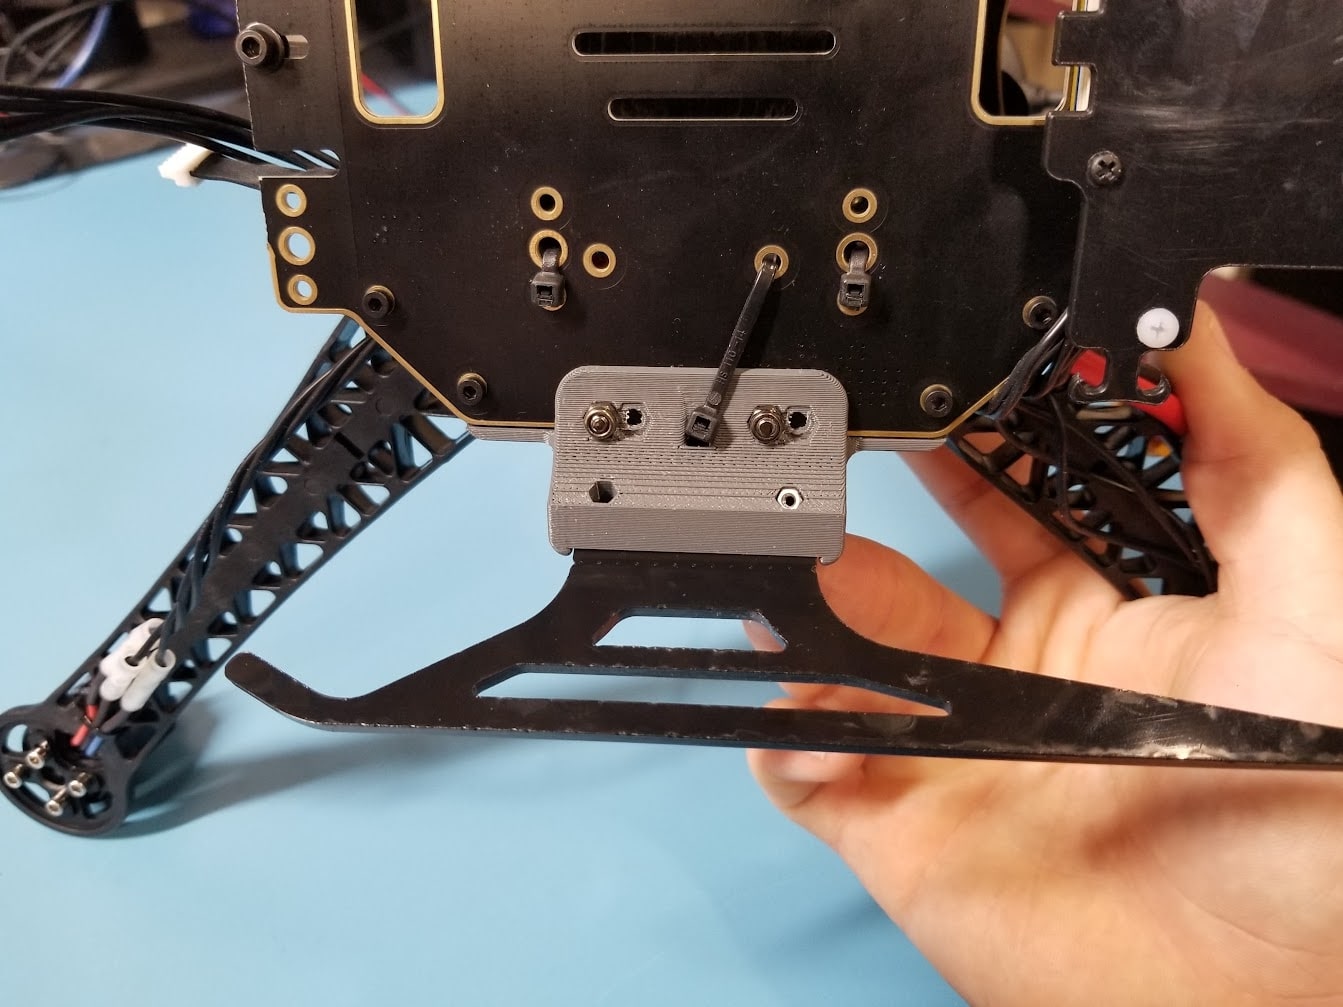
If you wish to remove or replace Sentinel’s landing skids due to damage or to simply use a different solution, follow these steps:
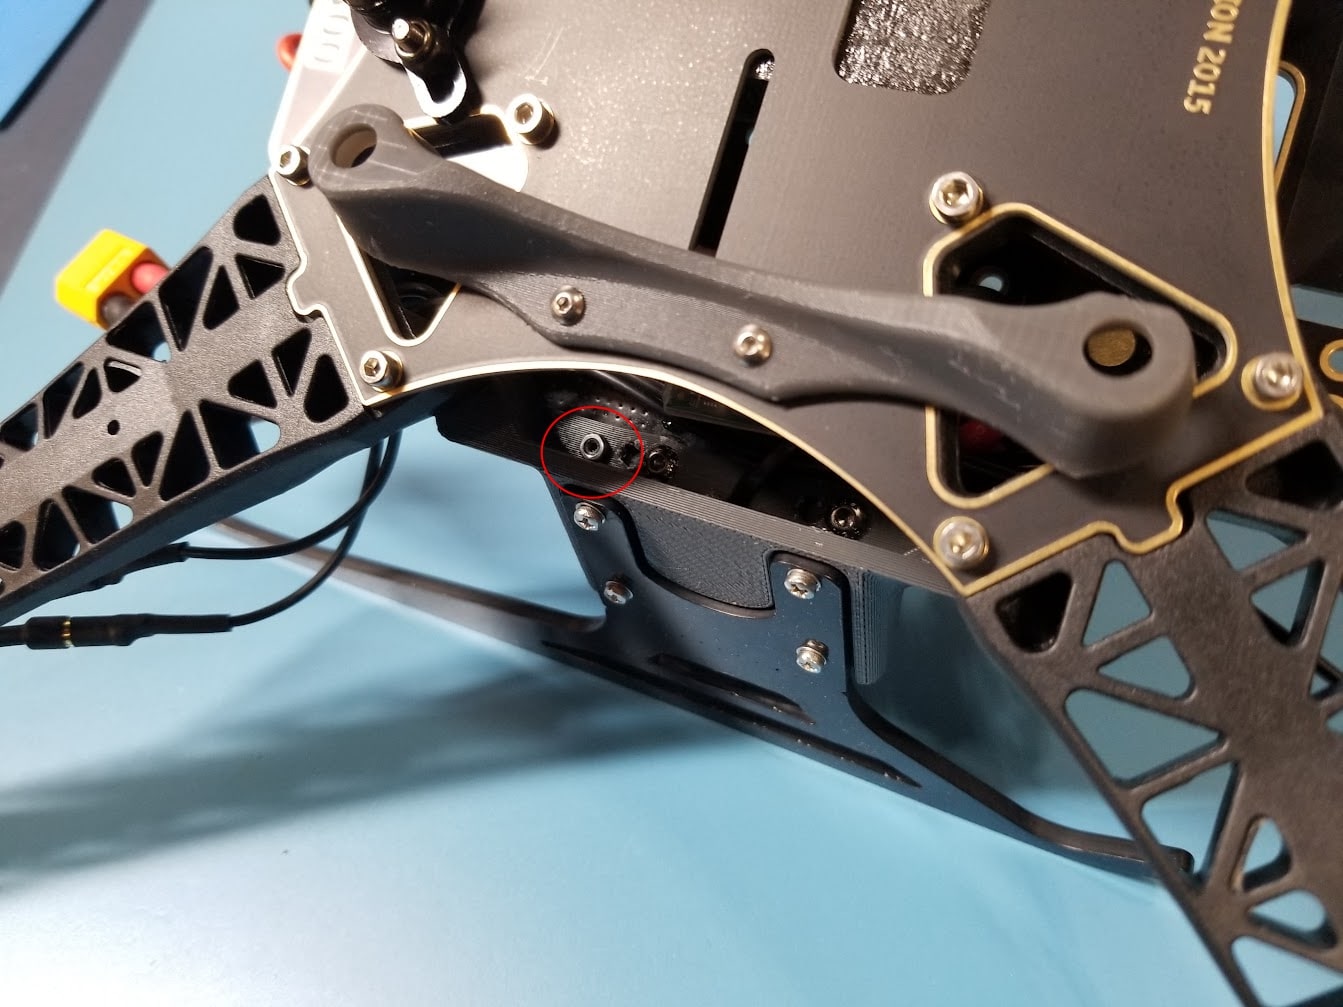
- Use a PH0 bit to unscrew one of the top screws in the assembly
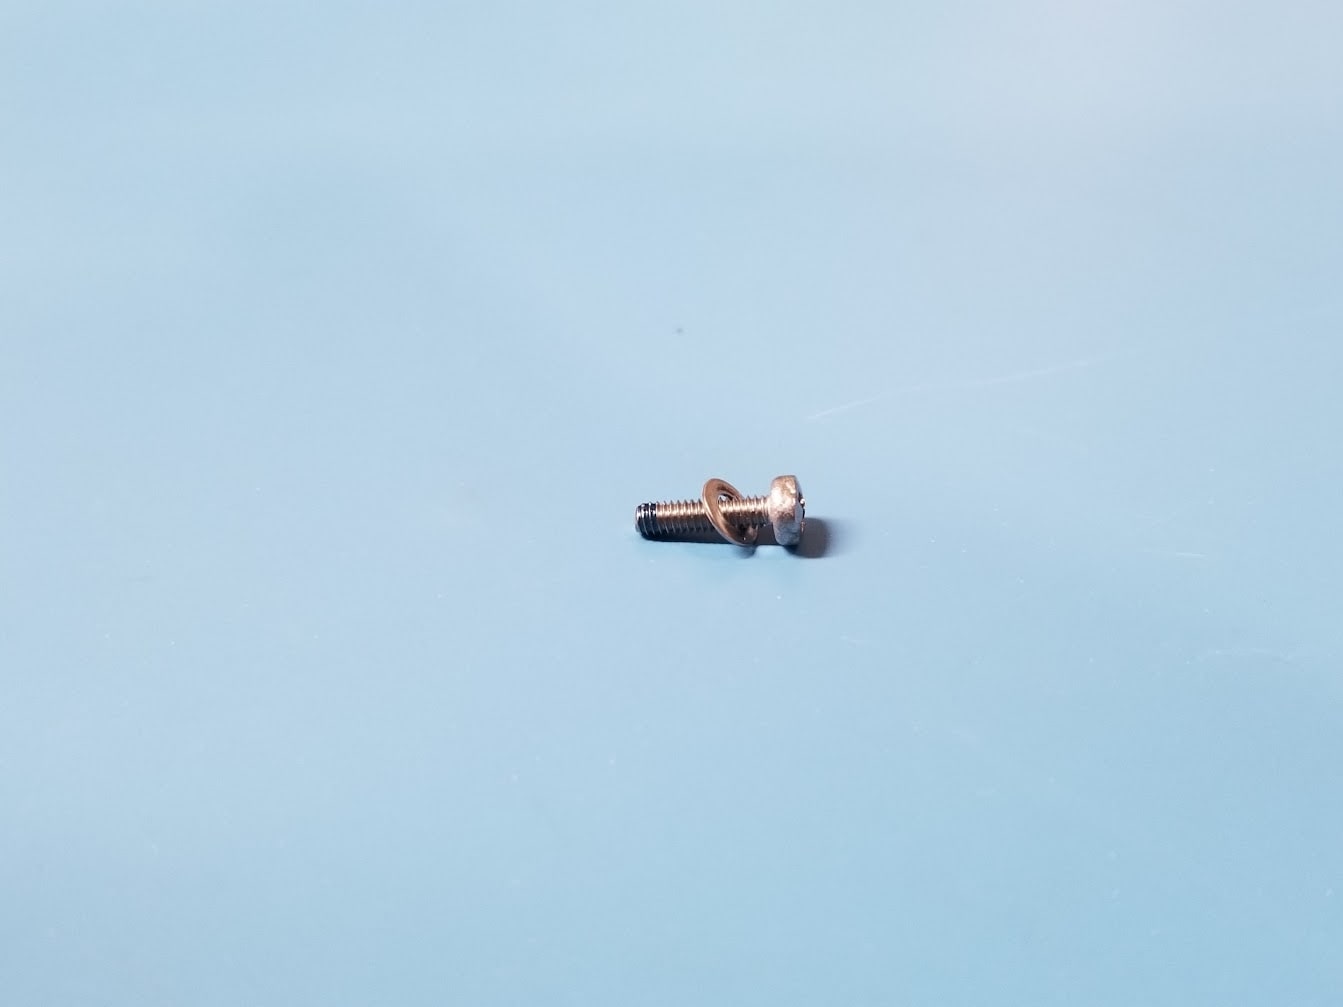
- Pull the screw out of the hole once the nut has been removed and leave the washer on the screw for safe keeping
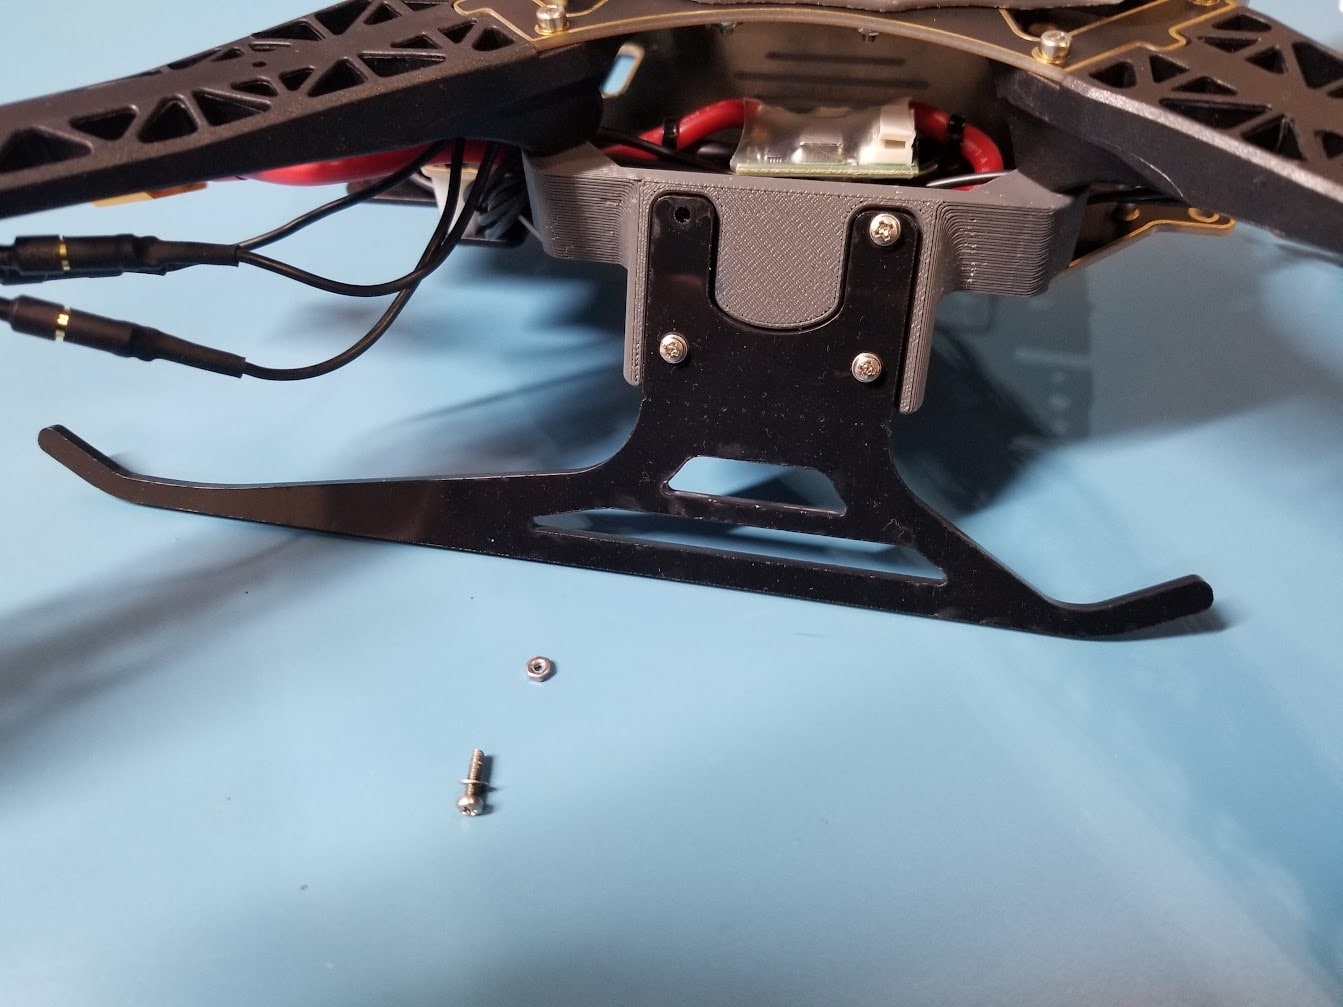
- The nut will likely fall out the back of the landing, keep track of this nut as you will need it for reinstallation
- If the nut stays in the skid mount, you can leave it in (it makes reinstallation easier). If it falls out or is dislodged, set it aside for reinstallation
- Unscrew the bottom screws. If you do not apply heavy pressure against the screw during removal it is possible the nut will not fall out the back of the skid mount
 \
\
Landing Skid Install
To reinstall the skids, follow these steps:
- Make sure you have:
- QTY.8 M2 x 0.4mm, 8mm long screws (M10000165)
- QTY.8 M2 washers (M10000166)
- QTY.2 2.5in landing skids (MMP-D0004-1-09)
- QTY.8 M2 x 0.4mm nuts (M10000181)
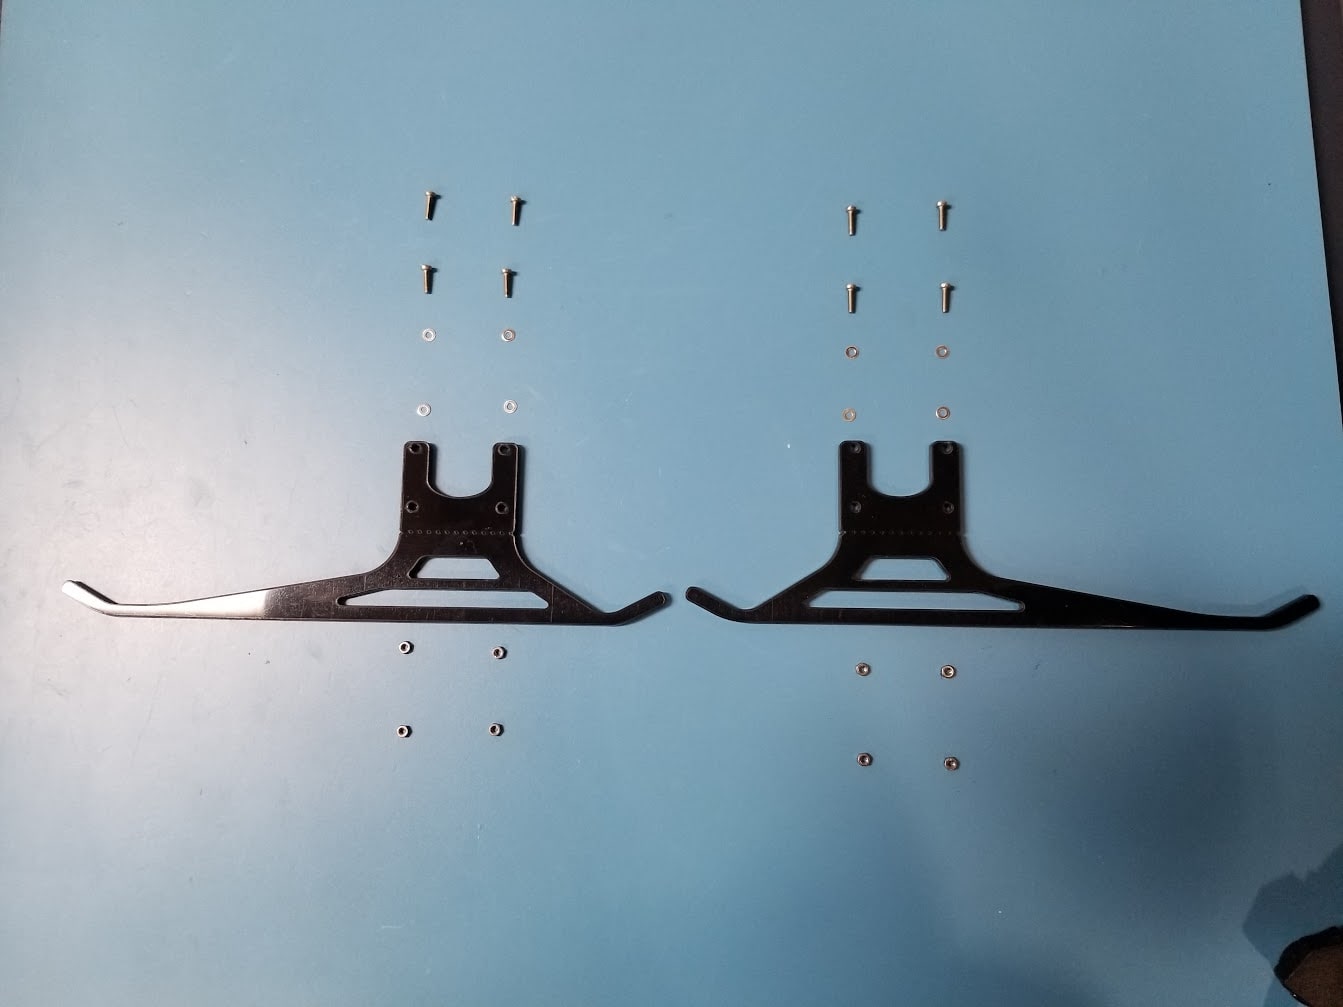
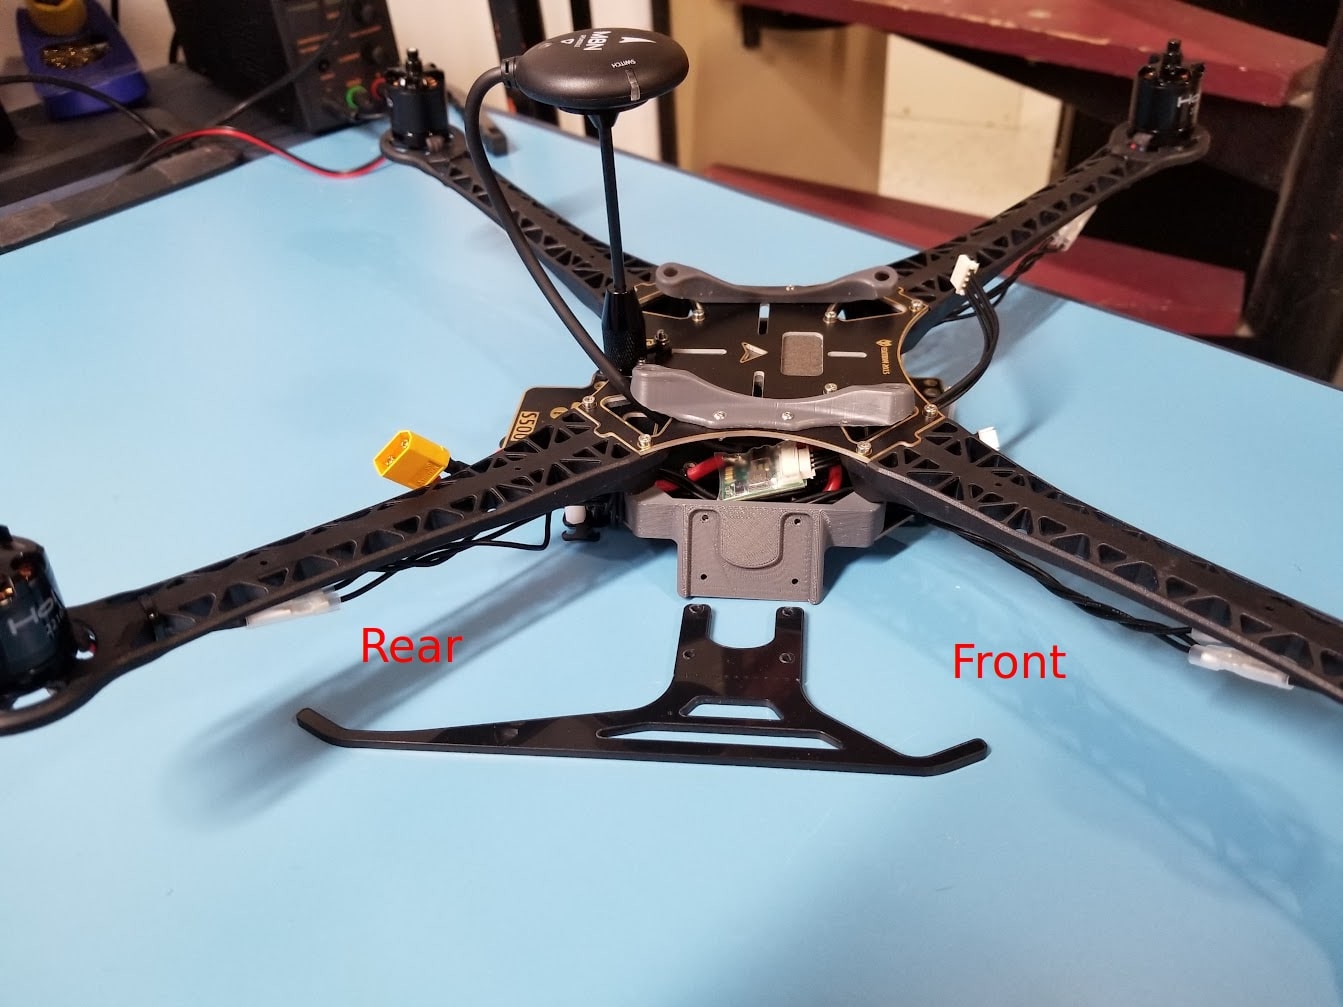
- Orient the skid: The long end of the skid goes towards the back of the drone towards the battery plug and GPS
- Then, put a washer on the screw, apply Loctite to the end of the screw, and put it through the Skid you are attaching
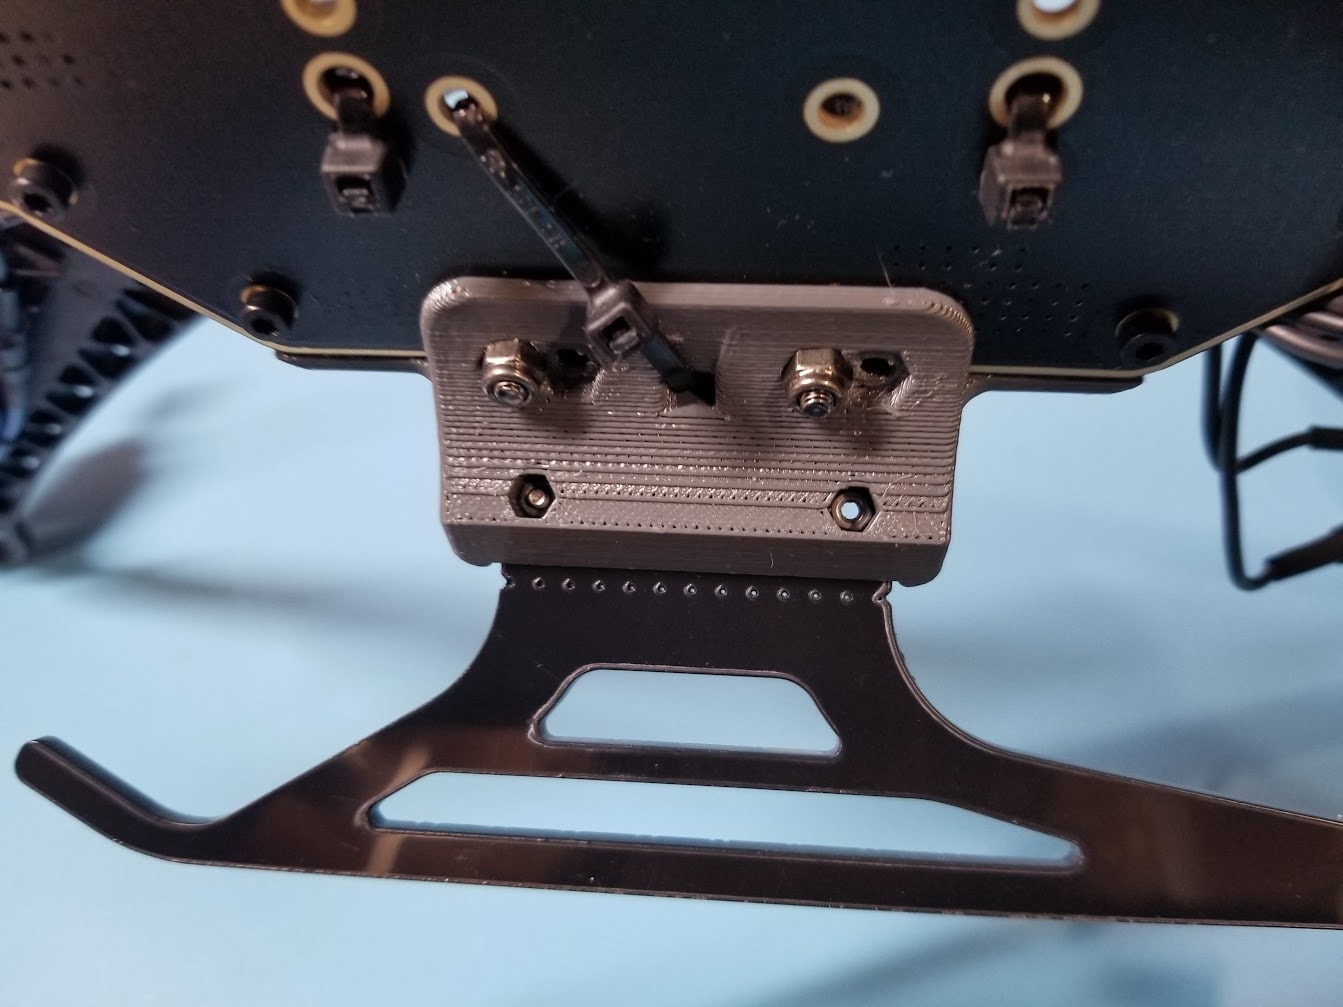
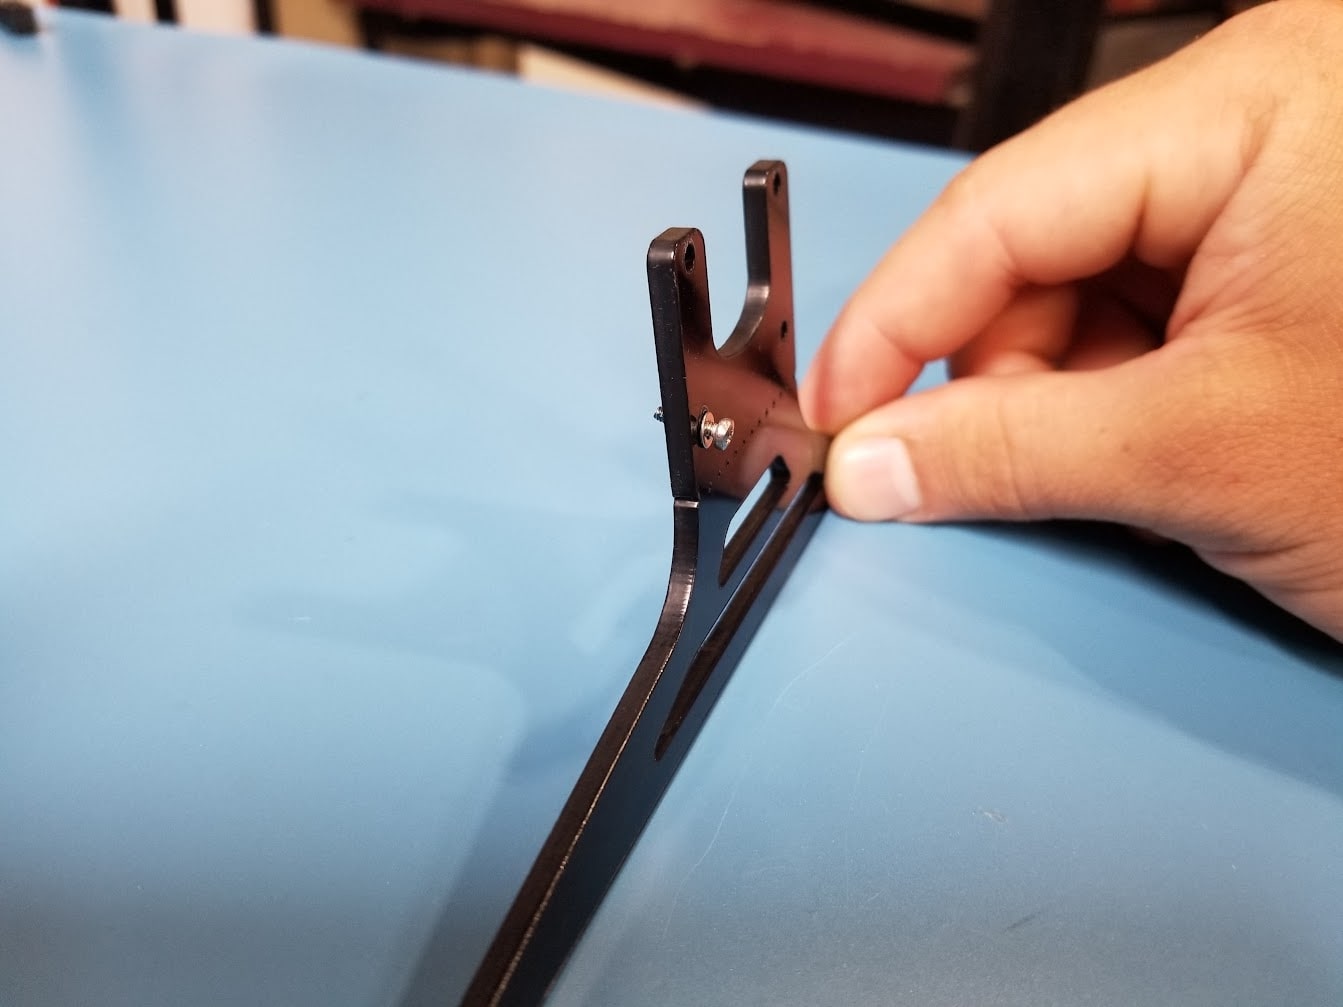
- With the screw through the skid, attach it to the corresponding hole on the Skid mount
- If the nut is still in the skid, simply fasten the screw into the nut
- If the nut is no longer in the skid, using a PH0 driver bit, tighten the screw into the nut
- As you tighten, leave some wiggle room to help align the other screws. Tighten them down once all four are in place. Use finger tight tension, no need to overtighten.
If the nut does not align with the screw, you have a few options:
- While continuing to press on the nut with your finger, keep light pressure on the screw with the phillips driver and spin the driver counter clockwise one or two rotations. While doing that, you may feel the nut align itself perpendicular to the screw; if you feel this, spin the driver clockwise a few rotations in an attempt to properly mate the screw with the nut. Some times you may have to repeat that process one or two times before you have success.
- If the nut has maneuvered itself out of place, you may need to take the screw out and re-seat the nut into the mount using tweezers/fingers. Re attempt to mate the screw with the nut
- If you are having trouble and can recruit some help with holding the drone: try pushing the screw all the way through the hole, grab the nut with some tweezers, lower it onto the protruding screw, and fasten it into place
