RB5 Flight QDL Guide
Table of contents
Summary
What is it?
QDL is a Qualcomm tool that can be used to program (or unbrick) Snapdragon based devices.
How does it work?
Snapdragon based devices contain a special mode of operation, called Emergency Download Mode (EDL). In this mode, the device identifies itself as 05c6:9008 Qualcomm, Inc. Gobi Wireless Modem (QDL mode) via. USB and can communicate with a PC host.
EDL mode itself implements the Qualcomm Sahara protocol, which accepts an OEM-digitally-signed programmer over USB. The programmer implements the Firehose protocol which allows the host PC to send commands to write into the onboard storage (UFS).
An open source tool (for Linux) that implements the Qualcomm Sahara and Firehose protocols has been developed by Linaro, and can be used to program (or unbrick) Snapdragon based devices.
Install
Prerequisites
A couple different libraries are required to build the QDL program, install them using the following:
sudo apt-get install libxml2-dev libudev-dev
Some Linux distributions come with ModemManager, a tool for configuring Mobile Broadband. This program, if installed, will interfere with the QDL flashing. Remove the program with the following:
sudo apt remove --purge modemmanager
If you need ModemManager, you can simply stop it from running with
sudo systemctl stop ModemManager
and restart it with:
sudo systemctl start ModemManager
Build
Clone the QDL repository using the following:
git clone https://git.linaro.org/landing-teams/working/qualcomm/qdl.git
Move into the project directory:
cd qdl
Build / install program using:
# build
make

# install
make install
This will install the qdl program into /usr/local/bin
Test the install by running the following and verifying the output:
qdl

qdl [--debug] [--storage <emmc|nand|ufs>] [--finalize-provisioning] [--include <PATH>] <prog.mbn> [<program> <patch> ...]
Image Download
Download the latest image release from the ModalAI protected downloads page
Latest: RB5 Flight QDL Image 9.1_QUP10
Unzip the downloaded release:
unzip r9.1_version1_2021-07-16-M0052.r9.1.QUP10.zip
Move into the ufs sub-directory of the unzipped release (depending on how it was unzipped it could be a couple layers deep)
cd 2021-07-16-M0052.r9.1.QUP10/ufs
Flash
Hardware preparation
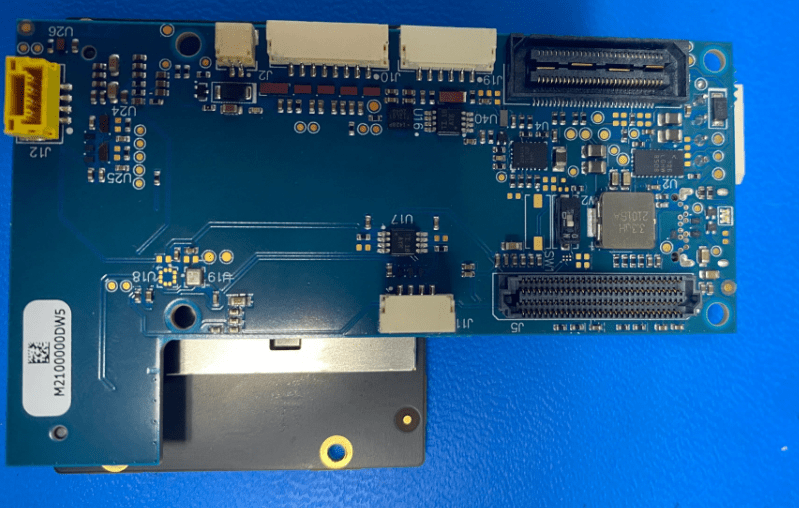
In order to force your RB5 Flight into EDL mode, slide the SW2 switch into the ON position, see below:
Now plug in power and USB-C cable from RB5 Flight to host PC.
Initiate flash
While in the ufs sub-directory of the image release, run the following qdl command in order to flash the device:
sudo qdl --debug --storage ufs --include . prog_firehose_ddr.elf rawprogram_unsparse0.xml rawprogram1.xml rawprogram2.xml rawprogram3.xml rawprogram4.xml rawprogram5.xml patch0.xml patch1.xml patch2.xml patch3.xml patch4.xml patch5.xml
All of the required *.xml files as well as the directory path (in this case we use . to represent the current directory location) need to be specified in order for qdl to find all of the required flash data.
The qdl flash will take around 10 minutes to complete (may be faster or slower depending on hardware and USB cable).
Once completed, you should see an output similar to the following:
<response value="ACK" rawmode="false" /></data>
partition 1 is now bootable
FIREHOSE WRITE: <?xml version="1.0"?>
<data><power value="reset"/></data>

FIREHOSE READ: <?xml version="1.0" encoding="UTF-8" ?>
<data>
<log value="INFO: Calling handler for power" /></data>
LOG: INFO: Calling handler for power
FIREHOSE READ: <?xml version="1.0" encoding="UTF-8" ?>
<data>
<response value="ACK" rawmode="false" /></data>
Remove power and USB from the RB5 Flight, slide SW2 switch back to the OFF position.
Next Steps
Now that your RB5 Flight has been reset to the factory image, install the latest System Image release by following the instructions here: RB5 Flight System Image